
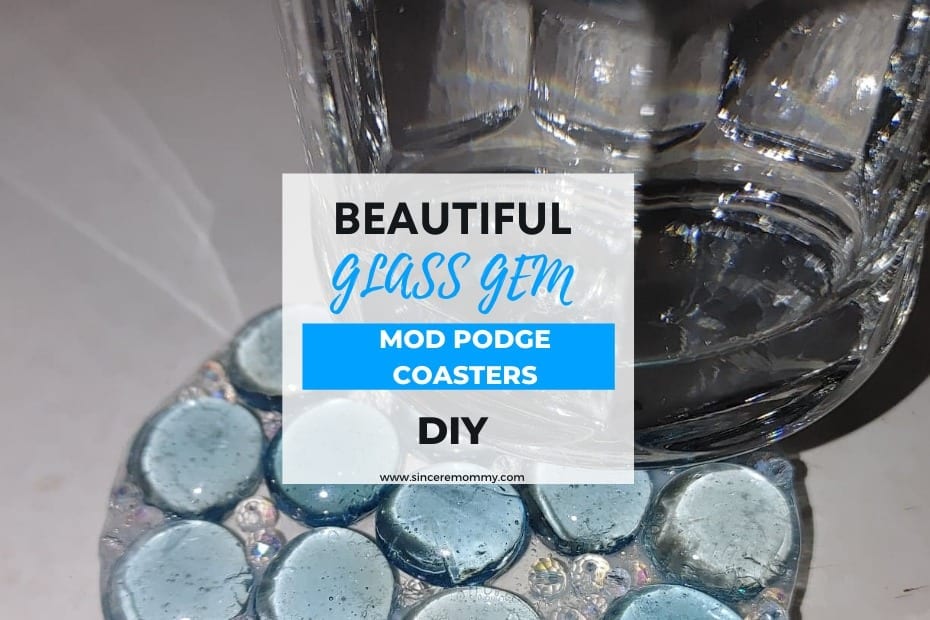
Mod Podge is such a versatile crafting component. I use it for so many various projects, but today, I will be showing you a really fun way to use it that you will love! We are going to make beautiful glass gem mod podge coasters! These coasters are so pretty, and you can make them in a variety of colors as well. Let’s get started!
*As an Amazon Associate this post may contain affiliate links for which I may be compensated a small amount if you should click and purchase something through them.
Table of Contents
Materials Needed
- Mod Podge (Gloss)
- Flat Glass Gem “Vase Fillers”
- Round Silicone Mold
- Small Glass Beads (Optional)
Step-by-Step Instructions
- Prepare Your Materials: Shake the Mod Podge well to ensure it’s thoroughly mixed. Choose your preferred glass gems or “vase fillers” in various colors and shapes. You can find these at Dollar Tree or purchase them in bulk from online retailers like Amazon. Additionally, gather a round silicone mold, preferably one used for baking or resin projects. Optionally, you can also gather small glass beads to fill in any gaps between the gems.
- Pour Mod Podge into the Mold: Pour a thick layer of Mod Podge into the bottom of the silicone mold, approximately 1/4 inch thick. Use a paintbrush to spread the Mod Podge evenly around the mold, ensuring there are no bare or thin spots.
- Arrange the Glass Gems: Carefully place the glass gems into the Mod Podge, starting with the outer edge of the mold and working your way toward the center. Press the gems firmly into the Mod Podge to ensure they adhere well. If there are any gaps between the gems, you can sprinkle small glass beads into them to fill them in.
- Allow the Coasters to Dry: This is the most challenging part of the project—waiting for the Mod Podge to dry! Mod Podge will turn clear when fully dry, so you’ll be able to tell when your coasters are ready. To speed up the drying process, you can briefly use a heat gun or blow dryer over the silicone mold. Then, place the mold near a sunny window or in a dry, well-lit area to further facilitate drying.
- Check and Flip the Coasters: After about a day, check the coasters. The top may appear dry while the bottom may still be wet. If this is the case, carefully remove the coasters from the mold and flip them over. Allow the wet side to face up for another day or so until fully dry.
By following these simple steps, you can create beautiful Mod Podge coasters adorned with glass gems. These coasters make lovely additions to your home decor or thoughtful handmade gifts for friends and family. Enjoy the creative process and the satisfaction of crafting something unique and beautiful!
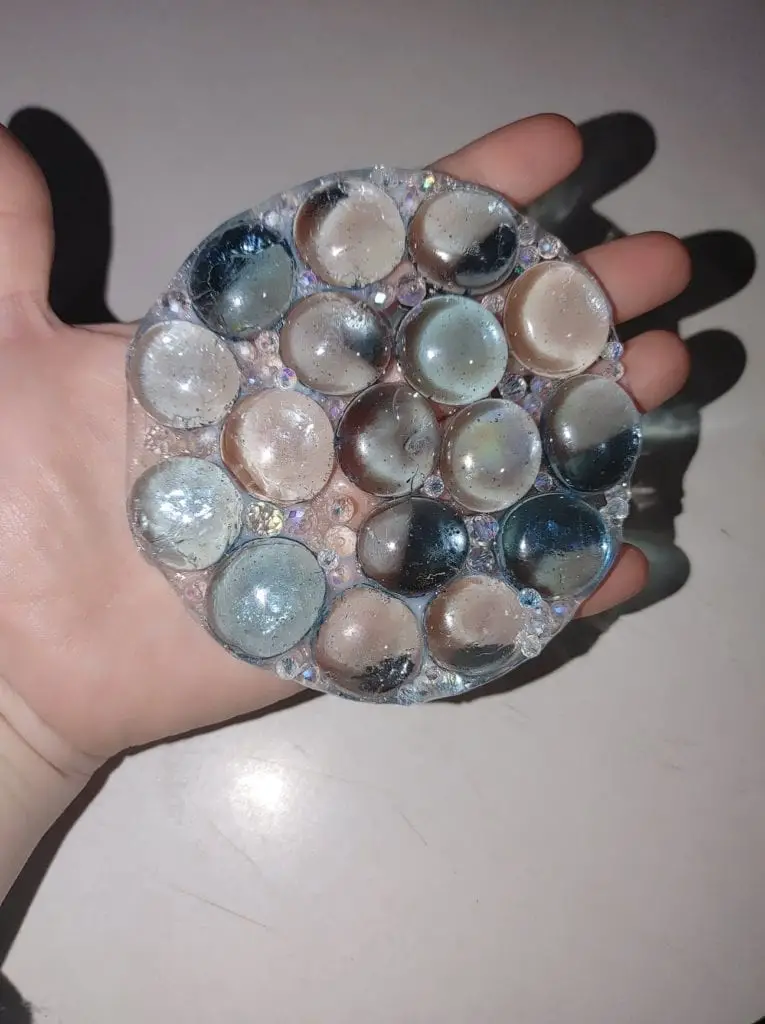
Once Your Mod Podge Coaster Is Finished Drying…
You will immediately notice how clear and shiny your coasters are after pulling them from the mold. You now have a fully functional set of Mod Podge coasters to use!
Trust me when I say people will ask about them. I often get asked if I made them and, if so, how I did it. People are usually shocked by how simple the process is and how unique they look.
I hope you enjoyed this little DIY
This project is so simple and fun! In the comments, let me know if you enjoy learning about easy DIY projects like this! Feel free to email your finished project pictures to [email protected], and I may feature them on the website!
Stay safe, happy, and crafty!