
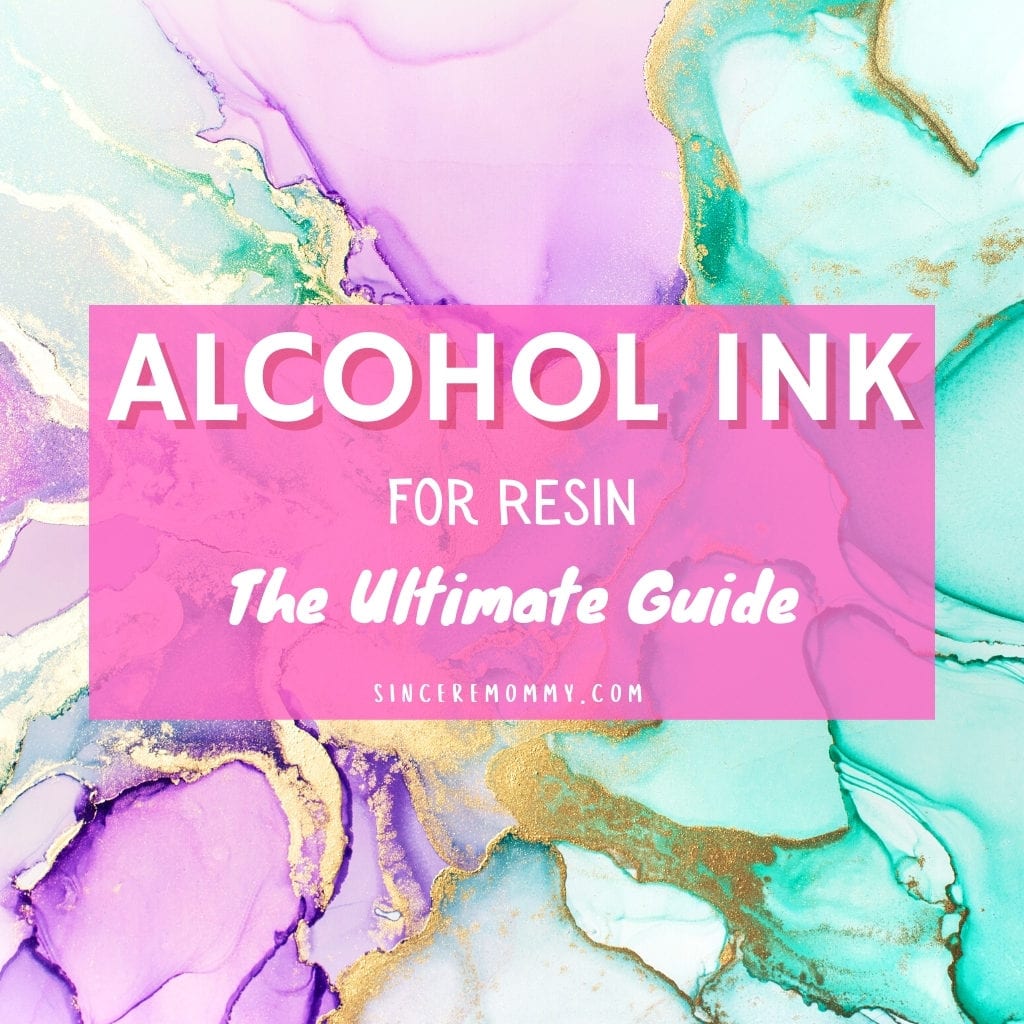
Today I’m going to be talking about alcohol ink for resin. We are going to cover a lot of ground and I am going to just go ahead and proclaim this to be the ultimate guide to alcohol ink. In this post I plan to answer a lot of common questions, talk about some popular products, discuss techniques, and more. Let’s get started!
*As an Amazon Associate this post contains affiliate links. This means if you click and purchase something through them I may be compensated a small amount. This is at no extra cost to you.
Table of Contents
What Is Alcohol Ink?
Alcohol ink is an alcohol-based liquid loaded with pigment. It can be used on a huge variety of porous and non-porous surfaces. The alcohol evaporates rapidly which only leaves behind the colorful dye.
Many artists use it to dye fabric or paint. In this instance we are talking about applying alcohol ink to resin for some very special effects!
That’s right! Alcohol ink can be mixed and manipulated to yield some gorgeous results. Tie-dye, marbling, polka dots, and more!
Facts About Alcohol Ink
One of the great things about alcohol ink is that it can be layered to create awesome patterns and effects!
Alcohol ink is actually waterproof and transparent.
It will dye and stain things that regular ink will not stick to like glass, metal, or plastic!
You can even make your own alcohol ink using rubbing alcohol, but we will get to that a little bit later!
Alcohol ink is toxic due to the alcohol that evaporates into the air. You should wear a respirator when working with it!
Alcohol ink is flammable as well. Use caution near heat sources or open flames. Safety first!
How Do I Use Alcohol Ink For Resin Art?
To use alcohol ink for resin you can try a variety of techniques. You can simply add a drop or two to mixed resin and stir it in if you like.
Also, you could use a dropper to put small drops into your resin art when it is already poured into the mold.
My favorite technique is to put alcohol ink droplets into my mold first and then pour the resin over the top of it.
In this short TikTok video you can see how I do it.
You can also try layering colors over top of each other. Make waves using a heat gun to blow the alcohol ink, or you can swirl it with a small pin as well.
Alcohol Ink For Resin – Tips
- Only add a drop at a time. Alcohol ink can easily over saturate the resin and cause curing issues.
- Mixing too many colors can cause the resin to look muddy and not very appealing.
- Use alcohol ink in a well ventilated area and/or wear a respirator to protect from toxic alcohol vapor.
- White alcohol ink is not transparent and can be used to create separation between colors. Try experimenting with it!
- Pouring resin over the alcohol ink will cause it to disperse differently and create unique effects.
- Dropping alcohol ink on top of resin will create surface and drop effects.
What Is The Best Brand Of Alcohol Ink To Use With Resin?
If you ask resin artists what alcohol ink they prefer to use for resin, many of them will say Piñata Color. Which of course there is no doubt that this is a reputable brand that does the job.
For me personally I prefer the basic Alcohol Ink Set from Amazon. It comes with 24 colors compared to Pinata brand which only comes with 9.
Not to mention it is cheaper and works perfectly fine for what I need.
The great thing about alcohol ink is that it lasts a really long time just because you only use a drop or two at a time.
I have been using the same alcohol ink set for resin for months and I don’t think I am anywhere near running out.
It does also depend on how large your resin art projects are and if you are regularly making and selling them.
How Do I Clean Up Alcohol Ink?
Alcohol ink can be quite messy. Spills, splashes, and accidents can happen. Even if you are very careful.
Prevention
The best way to keep this from happening is to wear nitrile gloves and cover any surface that you don’t want to get ruined with ink.
Definitely do not wear your best clothes to work with alcohol ink. I suggest keeping a set of clothes specifically to work with it.
You can also moisturize your skin with mineral oil or baby oil to keep the alcohol ink from staining your bare hands as badly.
How To Clean Alcohol Ink From Your Skin
Even if you are very careful you can still end up with alcohol ink stains. One of the best ways I’ve found to remove it is to simply use rubbing alcohol on a cotton ball. This typically will lift the majority of the ink from your skin.
You can also use a mixture of Dawn dish soap and baking soda. You can experiment with the consistency but you will want more liquid than powder.
Use this mixture to wash your hands under warm water. Typically this will take away any ink on your skin.
How To Clean Alcohol Ink From Fabric
This is not something you are going to want to have to do. Alcohol ink stains are quite complicated to remove considering they are intended to dye.
The best method I know of is to place a cloth or paper towel under the fabric you are trying to remove the stain from.
Dab the stain with rubbing alcohol using a cotton ball. The ink should begin to transfer to the cloth.
Note: Be sure to try the fabric with only a small amount of rubbing alcohol for a colorfast test.
Then you can try to scrub the remaining stain out using a stain pen.
Awesome Alcohol Ink Resin Crafts
Materials Needed:
- Epoxy resin (such as ArtResin or similar brand)
- Resin hardener
- Disposable mixing cups
- Stirring sticks
- Disposable gloves
- Silicone coaster molds (for Rainbow Splash Coasters)
- Heat gun
- Alcohol inks in various colors (for Cloudy and Petri Dish designs)
- Isopropyl alcohol (for Cloudy and Petri Dish designs)
- Small plastic cups or droppers (for Cloudy and Petri Dish designs)
- Resin pigment powders (optional, for enhancing colors)
- Resin dye or opaque pigment (optional, for base color of Rainbow Splash Coasters)
Steps:
Rainbow Splash Coasters:
- Prepare your workspace by covering it with a plastic sheet or silicone mat to protect surfaces from resin spills.
- Wear disposable gloves to protect your hands from resin.
- Mix epoxy resin and hardener according to the manufacturer’s instructions in a disposable mixing cup.
- Optional: Add resin dye or opaque pigment to create a base color for the coasters.
- Pour the resin mixture into silicone coaster molds, filling them halfway.
- Add drops of various colored alcohol inks onto the resin surface in the molds.
- Use a stirring stick or toothpick to swirl the alcohol inks around, creating a marbled effect.
- Use a heat gun or torch to pop any bubbles that may have formed on the resin’s surface.
- Allow the resin to cure according to the manufacturer’s instructions.
- Once cured, carefully remove the coasters from the molds. Sand any rough edges if necessary.
Cloudy Resin Crafts:
- Follow steps 1-4 from Rainbow Splash Coasters to prepare your workspace and mix epoxy resin.
- Pour a thin layer of clear resin into your desired mold or onto a flat surface.
- In small plastic cups or droppers, mix alcohol ink colors with isopropyl alcohol.
- Drop the colored alcohol ink mixture onto the surface of the clear resin in a random pattern.
- Use a heat gun or torch to create a “cloudy” effect by gently blowing the alcohol ink mixture across the resin surface.
- Allow the resin to cure partially, typically until it reaches a gel-like consistency.
- Pour another layer of clear resin over the cloudy design to encapsulate it.
- Use a heat gun or torch to pop any bubbles and blend the layers together.
- Allow the resin to cure completely according to the manufacturer’s instructions.
- Once cured, remove the resin craft from the mold if applicable.
Petri Dish Resin Crafts:
- Follow steps 1-4 from Rainbow Splash Coasters to prepare your workspace and mix epoxy resin.
- Pour a thin layer of clear resin into your desired mold or onto a flat surface.
- In small plastic cups or droppers, mix alcohol ink colors with isopropyl alcohol.
- Drop the colored alcohol ink mixture onto the surface of the clear resin in a concentric pattern, resembling a petri dish.
- Allow the resin to cure partially until it reaches a gel-like consistency.
- Use a heat gun or torch to manipulate the alcohol ink colors to create organic shapes and patterns.
- Pour another layer of clear resin over the petri dish design to encapsulate it.
- Use a heat gun or torch to pop any bubbles and blend the layers together.
- Allow the resin to cure completely according to the manufacturer’s instructions.
- Once cured, remove the resin craft from the mold if applicable.
How Can I Make My Own Alcohol Ink For Resin?
I have two DIY methods for making alcohol ink that work decently.
First Way: 1 cup 70% rubbing alcohol + 1 drop food coloring in a mason jar. You can add more rubbing alcohol for a lighter color.
Second Way: Remove the ink tube from a sharpie marker. Cut the ink tube in half. (This can take some work and can be messy.) Place the ink tube sideways into mason jar 1/3 full with 70% rubbing alcohol with the lid on for about 30 minutes.
You can put the ink into a different container or use a dropper directly from the jar.
Try Experimenting With Alcohol Ink
One of my best suggestions if you are considering working with alcohol ink is to simply try experimenting.
Try mixing different colors and creating different patterns yourself!
Some artists are able to create amazing designs and even flowers! The beauty of the design will ultimately come from you and your imagination.
I hope this post helps you understand alcohol ink a bit better! If you have questions or comments feel free to leave them down below!