
Just when you think we’ve covered all there is to know about epoxy resin there’s even more to learn. I’ve talked about resin in general, but this post is specifically about epoxy resin and what makes it so special. It’s one of my favorite art mediums and I can’t wait to share some more fun facts and important things to know with you!
*As an Amazon Associate this post contains affiliate links. This means if you click and purchase something through them I may be compensated. This is at no extra cost to you.
Table of Contents
What is epoxy resin?
Epoxy resin scientifically know as a polyepoxide. Epoxy resins chemically react with a catalyst to create a thermosetting polymer.
In simple terms, epoxy resin turns into a type of hard plastic once it has been mixed and cured.
It’s actually quite a fascinating process!
There are many brands of epoxy resin on the market, but most of them work the same way.
Epoxy resin is used by artists to create fantastic works of art due to it’s capability to be poured and hardened into a wide variety of shapes and designs.
It can be colored, shaped, drilled, painted, and more!
What is epoxy resin used for?
This stuff is truly amazing. It can be used for coating, casting, gluing, art, and tons of other applications. Epoxy resin typically has a longer pot time than other types of resin as well.
Pot time is the amount of time you have to work with the resin before it starts to cure.
Epoxy resin is perfect for artwork and relatively easy to work with in general. Even a resin beginner can make a beautiful craft on their first try!
Preparation & Safety
The most important first step for working with epoxy resin is good preparation and safety.
Before you start making art I highly recommend you cover your work surface with a resin resistant covering.
Make sure that you have nitrile gloves to wear that aren’t loose or baggy on your hands. You will want to be able to move freely but also remain protected at all times.
PSA: I’ve said it once and I will say it again. Resin is toxic. Even the safest epoxy resin on the market will emit fumes of some kind and isn’t particularly good for your skin either. I highly suggest wearing a respirator or half mask respirator with goggles.
You aren’t going to want epoxy resin to come into contact with your skin, eyes, or anything else other than your designated work surface or mold you are pouring in/around.
Use epoxy resin in a well ventilated area and away from heat sources as it is also flammable.
Select a mold.
Select a silicone mold. There is a huge variety of molds to browse online. Honestly there are so many to choose from it’s almost impossible to decide.
I actually have a list of popular resin molds to try if you’d like to take a look.
You can make coasters, figures, paper weights, containers, and many other shapes.
Select the epoxy resin you like.
Starting out you might have a hard time choosing which epoxy resin to work with first. I will say that many of the brands I have worked with have yielded similar results.
On occasion I have found differences in pot times and some yellowing that occurs in certain brands vs others.
Almost all resin will tend to yellow over time. Especially if it is left in direct sunlight. There are resins out there that claim they are resistant to UV light and those are usually the ones I go for.
I’ve written a post on how to select which resin to use that you may find helpful.
Mix the epoxy resin according to the kit instructions.
When you purchase epoxy resin you will notice that the bottles have lots of information on them.
Typically your kit will come with a resin and hardener.
Each epoxy resin kit will come with specific instructions and I highly recommend you follow them for the best results.
However, most epoxy resin kits are a simple 50/50 ratio. This means you will need equal parts resin and hardener.
If you do not measure epoxy resin accurately according to the kit instructions you will end up with resin that simply doesn’t cure or cures improperly.
I would venture to say this is one of the biggest problems that resin beginners have.
It is sometimes possible to fix a resin blunder, but it is easier to just get it right the first time around.
Can I add color to epoxy resin?
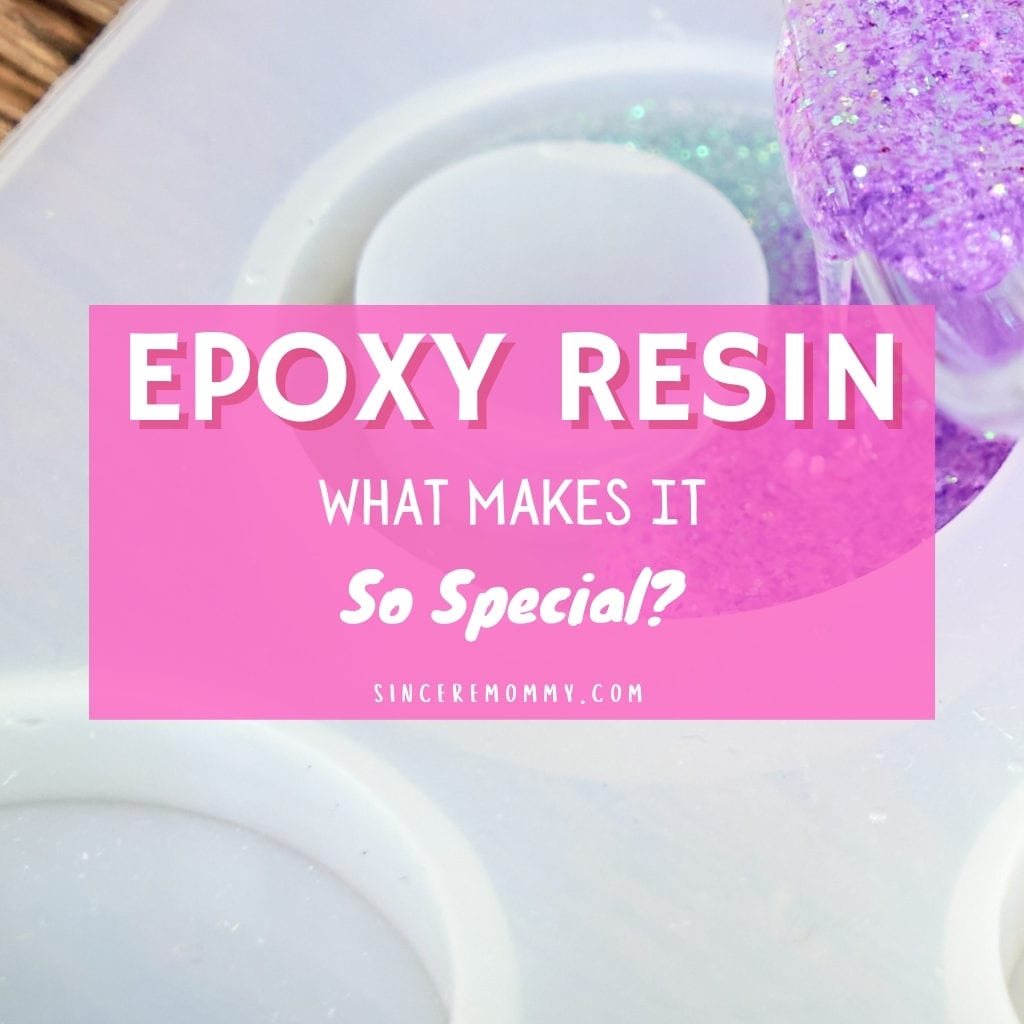
I would venture to say there are pretty much endless possibilities for coloring resin. You can dust the molds with mica powder, add pigment, use glitter, and more.
Truly the sky is the limit with how creative you can get with resin art.
My personal favorite way to color resin is with alcohol ink or mica powder. I actually have a whole list of ways to color resin in this post.
The key to adding color is to not use way too much. Over saturating your resin can cause it to not cure as well or at all.
You can even add dried florals, fruits, and more!
You can sell your epoxy resin crafts!
Want another reason to love epoxy resin? The crafts you can make from epoxy can be sold online! Some can sell for top dollar if they are made with quality.
Many artists and crafters sell coasters, bookmarks, beauty trays, and other trinkets for extra cash.
Here is a list of 20 resin craft ideas you could potentially make and sell online for some inspiration.
If you are super eager to sell your crafts I recommend signing up for an Etsy account or create a Facebook page for your shop.
You can use Canva which is a free option to create logos and designs.
Is epoxy resin an expensive hobby?
This is a really good question and one that I see often. Many people complain about the price of epoxy resin.
If you are planning to make a few small trinkets or maybe a piece of jewelry then you shouldn’t be too concerned with the price of resin.
One epoxy resin kit would probably last you for a long while for small crafts.
Otherwise if you are planning to make a full blown resin craft business or make epoxy crafts on a regular basis you may find it to be on the upper end of the price range.
I would highly suggest keeping an eye out for deals and sales on resin as well as molds to use. I actually have a post that I try to keep updated with resin and supplies for 10 USD or less.
A few more epoxy resin tips
Before you get going I have a few more helpful tips to consider. Some of these are things I wish I had known early one.
- Organic materials put in resin will release more air bubbles. (Wood, flowers, leaves, ect.)
- Raw flowers will usually turn brown and unsightly in resin. I suggest drying them first.
- The more air bubbles you remove the better your resin craft will look. Use a heat tool to help.
- Air bubbles that aren’t removed will appear as holes or fish eyes in your craft.
- You can sand rough edges on your resin art but be sure to use rougher to finer grit as you go. Also resin polish helps a sanded piece get its shine back.
- Wet sanding works best.
- Too much liquid colorant will cause curing problems.
- Don’t give up even if you mess up your first time!
Good luck with your epoxy resin endeavors!
As always I would love to share your resin and crafting journey with you. Today I have started a group specifically for sharing recent crafts and creations. I would love for you to join as a founding member! I hope to host giveaways, contests, and more eventually!
Thanks for reading and feel free to comment or ask questions below!