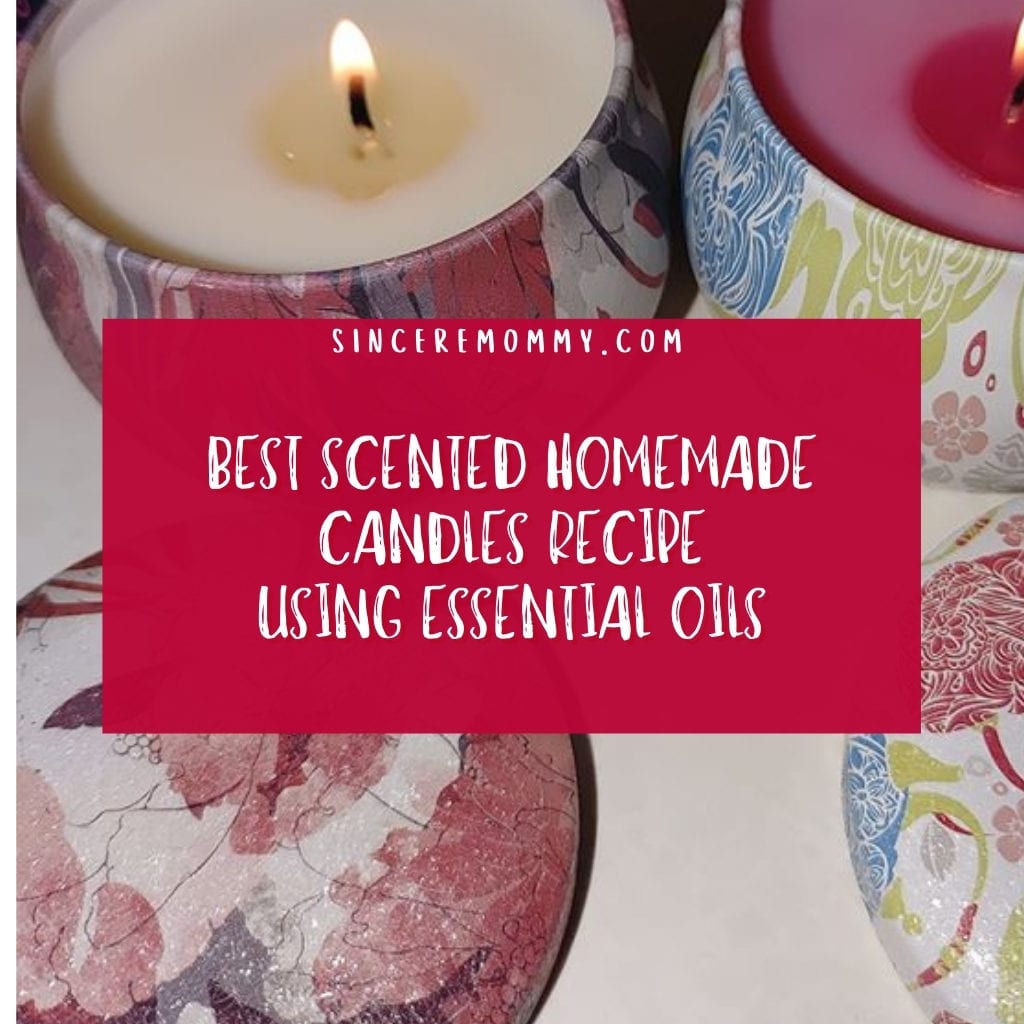
Ever wanted to make your own scented candles? Candles make great gifts for any occasion. Personalizing them and creating your own scents can be a lot of fun too! Here is the best homemade candles recipe that I love to use!
As an Amazon associate, this post contains some affiliate links for which I may be compensated a small portion at no extra cost to you if you choose to click and purchase from them.
Pick Your Jar
You will want a sturdy, heat-resistant jar. Clean the jar well and dry it out afterward.
Once you have a clean jar, you can begin preheating it. Do this by placing your jar on a baking sheet and setting your oven to a keep-warm setting. Your goal is to get your jar above room temperature.
Pick Your Wick
There are multiple kinds of wicks on the market. Around 300 types to be exact. You have wooden wicks, cotton wicks, paper core wicks, and even zinc wicks.
The key to any good wick is one that has a consistent flame size, wax pool, minimal carbon buildup, and a moderate temperature to keep your container from overheating.
Attach Your Wick
Attach your wick to the base of your heated jar. Simply place the collar of your wick down into some melted wax flakes. Be gentle! Not clumsy like me. 🙂 Let it dry before you move on to the next steps. You will want your wick nice and secure.
(Use caution as your jar may still be hot!)
Picking Your Wax
You can choose from a variety of waxes. Most waxes are made from soy or paraffin. There are also combination waxes out there that are a mixture of soy and paraffin. Soy is known to last longer than paraffin and is often used as a natural alternative.
Measure The Wax
Make note of how many ounces your jar holds. This is very important. You are going to want 2x’s the amount of wax flakes in your jar compared to the ounces that your jar will hold.
(Example: An 8 ounce jar will hold 16 ounces of wax flakes.)
Measure out your wax in a heat resistant glass measuring cup with a handle.
Heating Your Wax Up
For this, you are going to want to use a medium-sized pot. Sit the pot on an oven burner. Do not turn on your burner at this point. Take your measuring container with the calculated amount of wax in it and set it into the middle of the pot. Make sure it fits well and is not too big or too small. Fill your pot with water being extra careful not to get water into your wax.
Slowly adjust the heat of your burner to low-medium. You want the water to boil slowly. Stir your wax gently until it is thoroughly melted.
Using a thermometer, be sure to check the temperature of your wax. You want it to be between 150 and 180 degrees Fahrenheit.
Coloring Your Candles
There are multiple ways to color your candles. Personally, I like to use bits of non-toxic Crayola crayons for my candle projects. You could also purchase liquid candle dye.
Once you have successfully colored your wax you can remove the wax from the stove and let it start to cool.
Scenting Your Candle To Perfection
When your wax cools down to somewhere around 125 degrees Fahrenheit you can start to add your scent. I prefer essential oils. You can use any kind of fragrant oil or essential oil that you’d like.
My favorite combination is vanilla and lavender, but you can experiment with scents all you’d like. I love trying to come up with new fragrances.
Here are some fragrance combinations that work well.
- Mint – Eucalyptus
- Vanilla – Lavender (My favorite.)
- Lemongrass – Rosemary
- Lemon – Lime
- Cinnamon – Ginger
Time To Put Your Wax In The Jar
While your wax is still liquified and hopefully successfully colored and scented you may now pour it into your jar. Do this step carefully to avoid getting bubbles or cracks in your candle wax. (Or a giant mess!)
Keep a space at the top of your candle jar. When your wax begins to burn it will melt and pool up. Trim your wick as needed.
Allow your candle to sit and harden before use. Once everything is set up you may light your candle and enjoy the lovely fragrance you’ve just created!

