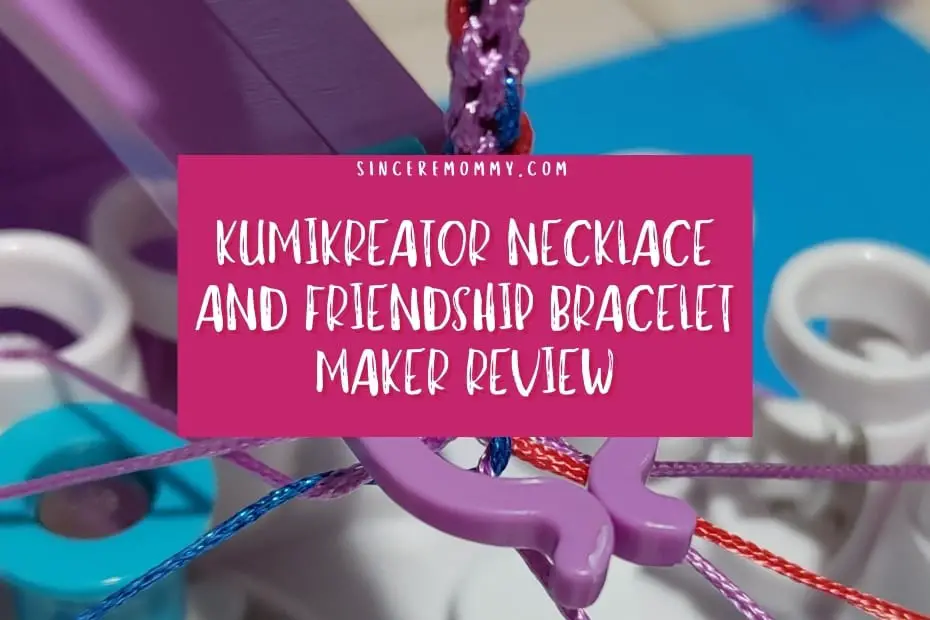
My daughter just celebrated her birthday recently and we were very lucky to receive a KumiKreator as one of her gifts. I say we because we both had a lot of fun using it. By looking at the box I already knew it would be fascinating, but I decided to share our review of the KumiKreator necklace and friendship bracelet maker so you can see for yourself!
As an Associate of Amazon this post contains affiliate links. That means if you should click and purchase something through them I may earn a small commission. This is at no extra cost to you.
Table of Contents
What’s inside the box?
When we opened the box to our new KumiKreator we were happy to find so many great things that it came with.
Inside the box you can find:
- 1 Cool Maker KumiKreator
- 60 Colorful thread spools
- 7 Clasps
- 14 End Caps
- 2 Tassel Charms
- 2 Tassel Bases
- 2 Clasp Sticker Sheets
- 1 Bracelet Measuring Guide
- 2 Design Booklets
- 1 Playbook
- Needless to say there is a lot included for a whole lot of creating fun! Also I feel I should note the recommended age for this product is 8 years and up. To me this is a pretty accurate assessment. The setup is not too difficult, but certainly requires coordination.
How to set up the KumiKreator
First you will need to remove all of you components from the box. Set aside your playbooks and pamphlets.
You will notice the purple and white arm is separate. The first thing you will want to do is put on the arm. It clicks into the KumiKreator fairly easily.
Pull the arm down to click it into place. Flip back the white tab on the arm to set it. Now you are ready to choose a design from the playbook!
There are several designs to choose from. Of course you could choose your own colors if you want to.
The playbook tells you exactly what color of spool to use and where to place them on the KumiKreator.
Be sure to set your KumiKreator to the home starting position before you begin inserting the thread spools.
How to correctly insert the spools
I will admit I messed up my first time doing this, but I was making it harder than it needed to be. All you have to do is pop the large hole of the thread spool onto an empty post.
simply run the thread through the top hole and slide it onto the arm in the proper slot. The playbook will walk you through the exact steps with images so it is really easy to follow.
Time to braid!
Now all you have to do is turn your KumiKreator handle clockwise until you have the length of bracelet/necklace you want!
I was so impressed with how flawless this process was. The KumiKreator braided the threads perfectly into an intricate pattern just by turning the handle.
When you are finished simply slip the thread from the arm of the KumiKreator and fasten it with a clasp sticker. Cut the strings from the spools and use a clasp sticker on the other end.
You can then put on an end cap and trim the excess string. Finally add your clasp.
All of these steps are well explained in your instructions. I found them easy to navigate.
Enjoy your fashion creation!
Once you have added your clasps the fashion creation is ready to wear! I loved the way ours turned out!
Overall we had a great experience making wearable fashion using the KumiKreator and I would highly recommend it to any tweens or teens who are into bracelet making.
While it required a little parental supervision I had a ton of fun and my daughter loved the whole process. If you are on the fence about getting one of these I think they are well worth it.
KumiKreator accessories
If you end up needing more thread spools for your KumiKreator you can easily find them on Amazon along with other supplies to keep you busy.
Cool Maker also has other products such as the Hollywood Hair Extension Maker and the Go Glam Nail Salon to try if you enjoy their KumiKreator.
Let me know in the comments if you end up getting a KumiKreator or have used one before. I would love to see some unique designs.

