
I have had a high demand for a painted rocks post so here it is! Painted rocks are one of the internet’s best sellers as far as art goes. Many crafty types enjoy painting rocks and selling them on their own website or a shop site like Etsy. People buy painted rocks as home decor or garden bed designs. You can even write something inspirational on them and hide them around the area where you live for others to find. Now, let’s hop to it and see how it’s done!
*As an Amazon Associate this post may contain affiliate links. I may be compensated a small amount when you click and purchase something through them. This is at no extra cost to you.
Table of Contents
What Kind Of Paint Is Best For Rocks
This is a pretty common question I get a lot from people. I highly recommend acrylic paint pens. Because rocks are so small, I find it much easier for me to write, draw, or stencil them more precisely. You can also spray paint them if you have a well-ventilated workspace!
In addition, I recommend outdoor acrylic paint. The weather can be harsh on your artwork so it is good to use more sun and rain-resistant paint.
What Kind Of Rocks Should I Use?
You can literally use any rock lying around. If you find one outside you would like to use, be sure to wash it off thoroughly. If you don’t feel like dirtying your indoor sink, you can use your garden hose. Another alternative would be to purchase stones that are already optimal for painting. Art stones are typically shaped nicely and provide a much smoother surface.
Should You Use A Base Coat?
It depends on how you want your rock to look and how you want your paint to apply. I’ve found that rocks are a bit porous to paint on and absorb quite a bit of paint. For this reason I usually use a base coat. The base coat allows the rock to absorb the excess paint and provide the nicest surface to paint on. Do allow your rock to dry for a few days after painting it. Here is a great base coat tutorial post if you want to see an easy way to apply one.
Using Stencils To Paint Rocks
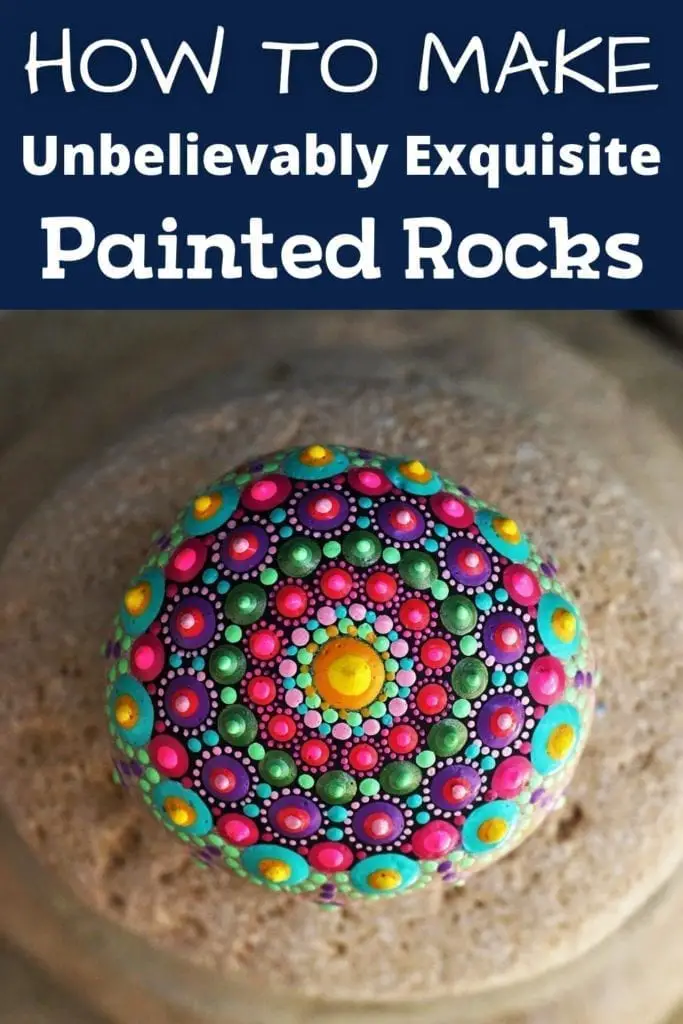
You can use virtually any stencil to paint on your rocks. I recommend taking a charcoal pencil and outlining your stencil of choice before painting. This helps you get nice, straight, crisp lines to follow with your paint. This is especially useful for doing a Mandala dot pattern on your rock. Here is a great Mandala rock tutorial you can check out.
How Do I Make A Painted Rock Design That Pops?
It is best to use contrasting colors to make a design that really pops. Many artists prefer a black acrylic base coat over a white one, which allows your colors to stand out. Color Shift paint is a popular paint type for painted rocks, as it adds more dimension to the flat rock surface.
Steps to making a painted rock
- Rock Selection:
- Choose a smooth, flat rock as your canvas. For easier painting, look for rocks with a surface free of cracks and bumps.
- Cleaning:
- Wash the rock with soap and water to remove any dirt or debris. Allow it to dry completely before painting.
- Sketching:
- Sketch your design lightly onto the rock with a pencil or marker. This will serve as a guide for your painting.
- Base Coat:
- Apply a base coat of acrylic paint to the rock using a paintbrush. This will provide a smooth surface for your design and help the colors stand out.
- Painting:
- Use acrylic paints and fine paintbrushes to fill in your design. Start with lighter colors and gradually add darker shades for depth and dimension.
- Details:
- Add details and highlights to your design using smaller paintbrushes or paint pens. Take your time and work carefully to achieve precision.
- Drying:
- Allow the paint to dry completely between layers to prevent smudging or mixing colors unintentionally. This may take a few hours depending on the thickness of the paint layers.
- Finishing Touches:
- Once the paint is dry, you can add details or embellishments such as glitter, gems, or stickers if desired.
- Sealing:
- Apply a clear sealant or varnish to the painted rock to protect it from the elements and give it a glossy finish. Allow the sealant to dry completely before handling the rock.
- Display:
- Once the sealant is dry, your beautiful painted rock is ready to be displayed! Place it in your garden, on a windowsill, or give it as a thoughtful gift to brighten someone’s day.
What Tools Will I Need For Painting Rocks?
There are several types of tools for rock painting. Of course, first, you will need traditional fine-tipped paint brushes. Another great tool to have is a silicone dotting tool. There are multiple types of these, ranging in size and shape for the desired look and effect.
List of rock painting supplies you may need:
- Rocks: Choose smooth, flat rocks as your canvas.
- Paint Brushes: Various sizes for different details and strokes.
- Acrylic Paints: Vibrant colors suitable for outdoor use.
- Paint Palettes: To mix and hold paint colors.
- Pencil or Marker: For sketching designs on the rocks.
- Sealant: Clear spray or brush-on sealant to protect the finished artwork.
- Water Container: For rinsing brushes between colors.
- Paper Towels: To wipe brushes or clean up spills.
- Paint Pens or Markers: For precise lines and details.
- Pencil Sharpener: To keep your pencils ready for sketching.
- Paint Thinner (optional): This is for cleaning brushes if oil-based paints are used.
- Paint Pens or Markers: For precise lines and details.
- Varnish (optional): Provides additional protection and gloss to finished rocks.
- Stencils (optional): For creating intricate designs with ease.
- UV Resistant Sealant (optional): Protects the artwork from fading in sunlight.
- Palette Knife (optional): For mixing paints or creating textured effects.
Check out this first time rock painting video with more tips and ideas to use!
I hope this helps you to get started with rock painting. Let me know how it goes! Feel free to comment about your rock painting experiences or share your pictures! Email them to [email protected]. Stay happy, healthy, safe, and crafty!