
These easy homemade lotion bars will leave your skin perfectly soft to the touch and moisturize it so well! The longer you these lotion bars the better your skin will start to look and feel. You only need a few ingredients and you will be able to make plenty of lotion bars to last for quite a while. Let’s get started!
As an Amazon Associate this post contains affiliate links for which I may be compensated a small amount when you choose to click and purchase something through them. This is at absolutely no extra cost to you.
Table of Contents
The Ingredients You Will Need
First you will need cacao butter, shea butter, coconut oil, grape seed oil, and castor oil. These ingredients have so many lovely skin benefits. They are packed full of moisturizing and rejuvenating vitamins that heal and restore your skin over time. From the first application, you will notice an unbelievably soft difference. You will fall in love with these easy homemade lotion bars.
The key is to find the ratio of oils and kinds of butter that will harden nicely. You can add more liquid oil if you want a softer lotion bar. You can add more shea butter if you prefer a harder, less melty lotion bar. You can easily store those melty lotions in a container and refrigerate them until ready to use them!
Here is a concise list of supplies and ingredients for making lotion bars.
- Cacao (cocoa butter) – 1 Cup
- Shea Butter – 1 Cup
- Coconut Oil – 1/2 Cup
- Grape Seed Oil – 1 TBS
- Castor Oil – 1 TBS
- Essential Oils (optional)
- Silicone mold or cupcake liners
- Double boiler setup (heat-resistant glass bowl and large pan)
- Sturdy plastic pouring pitcher
- A sturdy surface (like a cutting board) for transferring the mold into the fridge
- Plastic containers or sachet bags for storing the lotion bars
These supplies and materials are essential for creating luxurious homemade lotion bars, packed with moisturizing and rejuvenating properties to nourish your skin.
Put Your Ingredients In A Double Boiler
Create a double boiler by putting a heat-resistant glass bowl into a large pan that is 3/4 full of water. Bring the heat to medium on your burner. Put all your ingredients into the bowl and melt them together. They will all melt into a single liquid. Once everything is melted, stir it well and then remove it from the heat.
Add Essential Oils or Scent
Once you’ve taken your melted oils off of the heat you can put it into a sturdy plastic pouring pitcher and stir in any essential oils you like. I used Premium vanilla for my lotion bars as it compliments the natural scent of the cacao butter and shea butter.
Pour Your Melted Oils Into A Mold
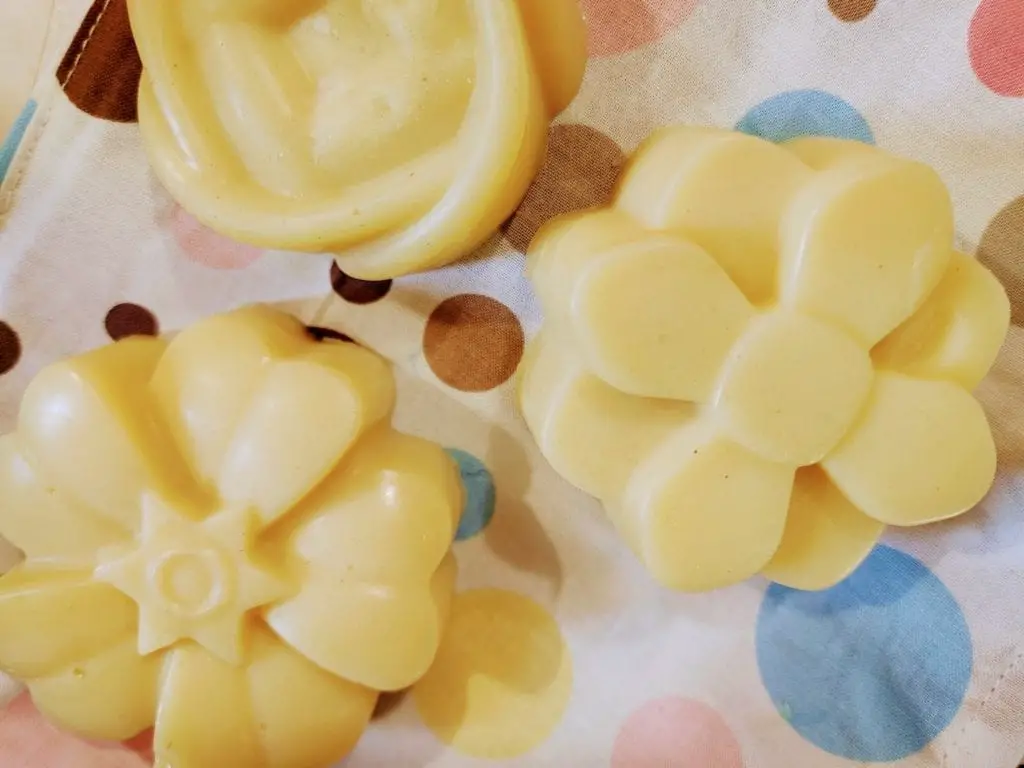
I highly recommend pouring your oils into a silicone mold. Silicone is so much easier than other options when it comes to taking your lotion bars out. You will want them to remove easily. You can also pour the oil into cupcake liners in a metal cupcake pan if you would like. If you do choose to use a silicone mold be sure to put something underneath it that is sturdy like a cutting board. This will make transferring the mold into the fridge much easier.
Refrigerate Your Oils For A Few Hours
Depending on the ratio of oils you used you may have a shorter or longer waiting time on your lotion bars to solidify. Mine usually take an hour or two but I will leave them in for up to 4 hours to be sure. Once your lotion bars are solidified you can take them out of the fridge and begin demolding them.
Store Your Lotion Bars In A Container Or Sachet
I prefer to store my lotion bars in a plastic container in the fridge, but you can store them however you like. For a more solid lotion bar, you can use a sachet bag. These bars will last you quite a while, and they make a great gift!
Enjoy Your Easy Homemade Lotion Bars!
You will truly enjoy these easy homemade lotion bars because they seriously hydrate your skin. Use them on your legs for silky, smooth, radiant skin. Also, use them on your hands to keep them from getting dry and chapped in the colder months. The ingredients help protect your skin and lock in moisture. These lotion bars contain plenty of vitamin E and will renew your skin over time!