
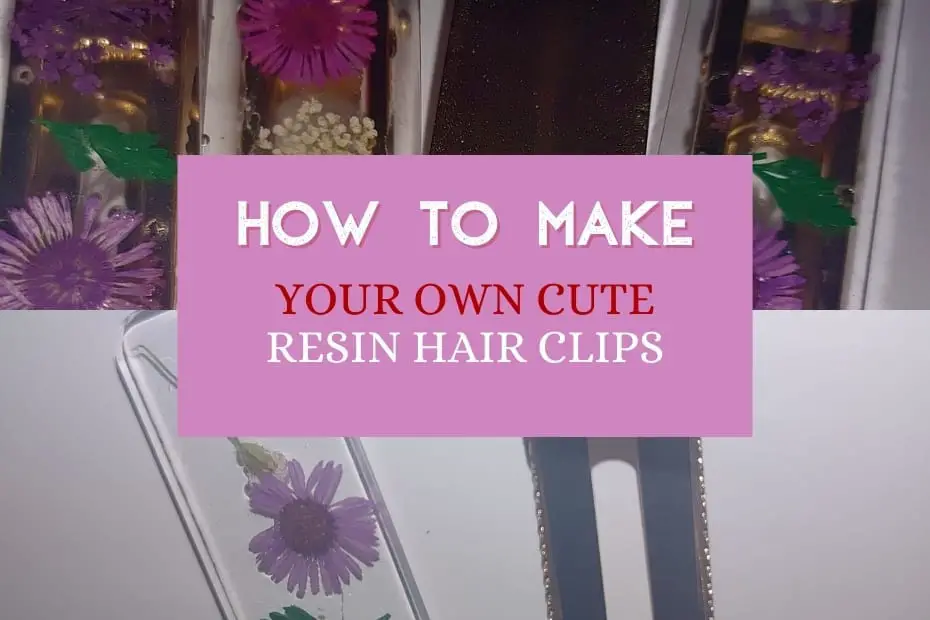
Want another cool thing to do with resin? How about making your own cute resin hair clips for everyday use? These are so easy to make and make a great addition to any craft shop. So whether you are looking for a new resin craft to sell or sport around, this post is exactly for you!
As an Amazon Associate this post contains affiliate links. I may be compensated a small amount if you should click and purchase anything through them. This is at no extra cost to you.
Table of Contents
Materials Needed:
- Silicone Hair Clip Molds
- Metal Base Clips
- Resin
- Locktite Gel Control Superglue
- (Optional) Decor such as dried flowers, polymer clay, alcohol ink, mica powder, pigment.
Step-by-Step Guide:
1. Prepare Your Work Area:
- Select the silicone mold(s) you’ll be using and lay them out on a flat surface. A level work surface is crucial when working with resin to ensure even curing.
- Consider using a dedicated work table for resin projects to maintain cleanliness and organization.
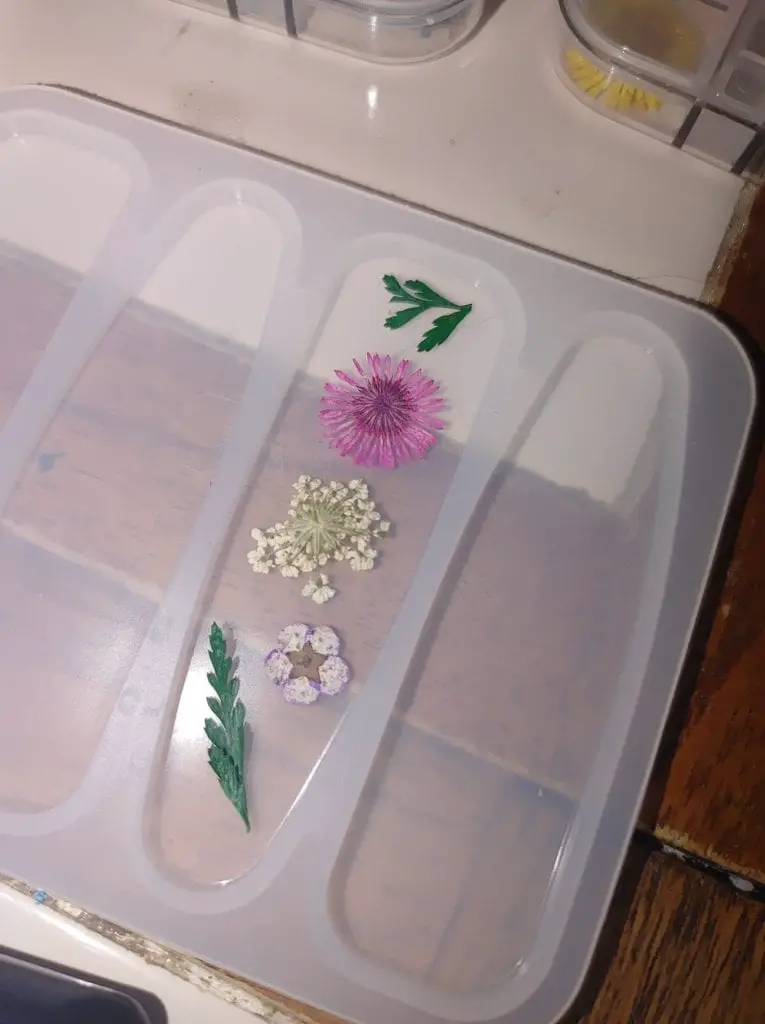
2. Choose Your Resin Hair Clip Decor:
- Decide on the decorative elements you want to incorporate into your resin hair clips before starting the project.
- Options include pressed flowers, polymer clay, alcohol ink, mica powder, or pigment.
- Prepare any decor items by ensuring they are clean and ready for use.
3. Mix Your Resin:
- Follow the instructions provided with your resin kit to mix the resin components evenly.
- Use reusable resin measuring cups and popsicle sticks for accurate measurement and thorough mixing.
- For beginners, consider using a resin kit with a simple 1:1 ratio for ease of use.
4. Add Color (Optional):
- If desired, add mica powder or pigment to the mixed resin to color it according to your preference.
- Mix the colorant thoroughly into the resin until it reaches the desired hue.
5. Decorate Your Hair Clips:
- Place your chosen decorative elements into the silicone molds.
- Use tweezers to carefully position items such as pressed flowers or small embellishments within the mold.
- Experiment with different arrangements and combinations to achieve your desired look.
Step-by-Step Instructions:
1. Pour Resin Into the Hair Clip Mold:
- Carefully pour the mixed resin into the hair clip mold, ensuring it does not overflow. Hair clip molds are typically thin, so be cautious when pouring.
- Some crafters prefer using droppers or plastic syringes for precise resin application, but pouring from the mixing cup works well too.
2. Apply Heat to Your Resin:
- Use a heat gun to apply gentle heat to the surface of the resin in the mold. This helps to reduce and eliminate resin bubbles that may have formed during pouring.
- Air bubbles can become trapped under pressed flowers or other decorations, resulting in unsightly holes in the cured resin. Applying heat helps to bring these bubbles to the surface.
- Move the heat gun across the resin surface in a gentle, sweeping motion to evenly distribute the heat and release trapped bubbles.
3. Demold the Resin Once It Has Cured:
- While some resins claim to cure in as little as 8 hours, it’s advisable to wait a full 24 hours before demolding to ensure thorough curing.
- Waiting the full curing time reduces the risk of leaving fingerprints or dents on the resin pieces during demolding.
- Carefully remove the cured resin hair clips from the molds once they are fully set and hardened.
By following these steps, you can effectively pour the resin into hair clip molds, eliminate bubbles, and de-mold the cured resin hair clips without compromising their quality or appearance.
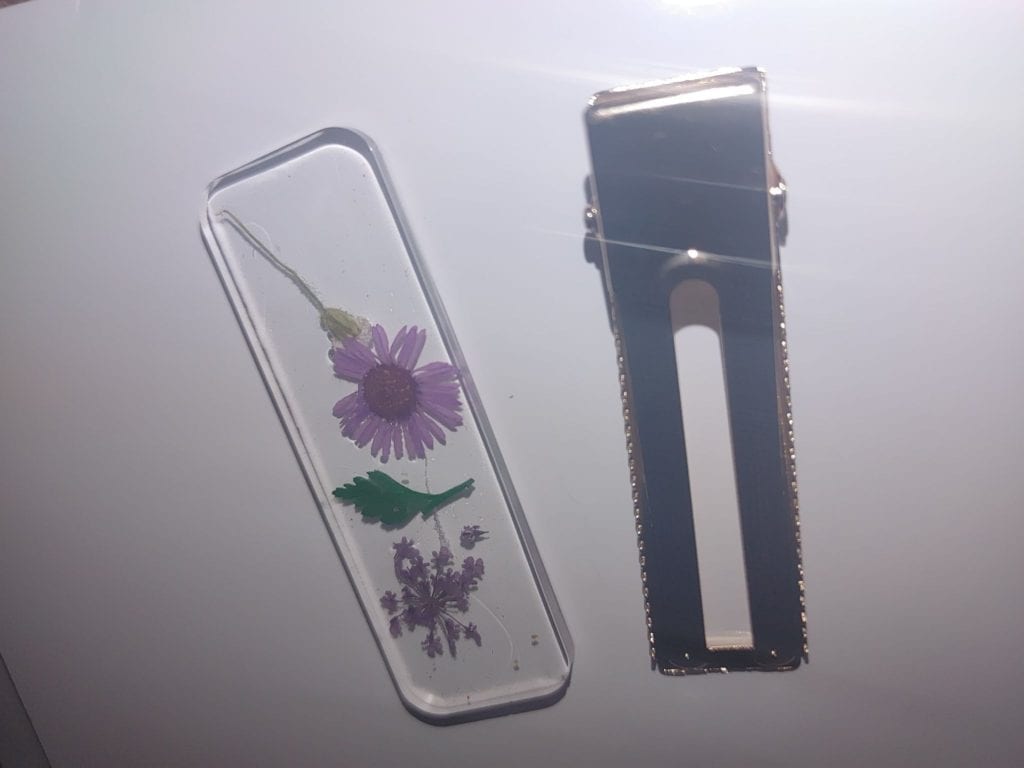
Epoxy resin tends to stay a bit bendy compared to other types of resin. For that reason I do like to wait a bit longer.
Once you are sure the resin has cured, pull it from the mold and find the matching metal clip.
Apply Loctite Super Glue
I like to secure the metal clip to my resin piece using Loctite Super Glue Gel Control. This particular super glue is easy to use and it comes out only when you press the blue buttons on the side of the container. This gives you great control when it comes to applying it.
A little bit goes a long way with this stuff. I’ve found that the resin reacts well to it and sticks extremely well to the metal clip. You only need a little bit on each end of the clip, but you can apply it where you think you’ll need it most.
Hold the metal clip and press it firmly where you want it on the resin piece. The clip will bond to the resin in seconds, but maintain a firm but careful press for a few seconds. Sit your clip aside so it can dry for a while before use.
You Now Have A Functional And Cute Resin Hair Clip!
So now you get to decide what hair clip to wear each day or which design to sell online in your Etsy shop. Decisions, decisions! Like most resin creations, these make excellent gifts.
Make your own resin hair clips and let me know how they go! As always, feel free to email your designs for a chance to be featured on my website. I love to see your creations!