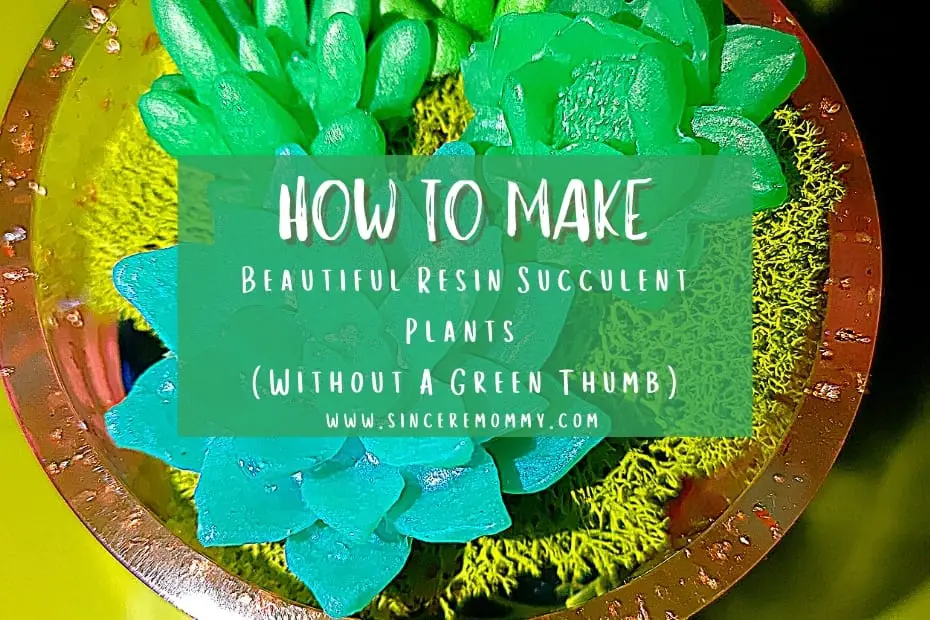
Want to learn how to make beautiful resin succulent plants that you never have to water or care for? These resin succulents are so adorable and are easy as pie to make yourself! Impress your friends and family with these deceivingly realistic resin succulents that you don’t even need a green thumb to grow!
* As an Amazon Associate this post contains affiliate links. That means if you should choose to click and purchase something through them I may be compensated a small amount at no extra cost to you.
Table of Contents
Getting Started
For this resin craft you are going to need just a few simple things to work with.
- Silicone Succulent Molds
- Epoxy Resin
- Colorant (Mica Powder)
Which Resin To Use?
I specifically used Alumilite’s Clear Casting Resin for this project.
Let me tell you, this resin dries so much quicker than other resins I’ve tried. It is nice and thick and dries nice and hard too!
Which Molds To Use?
Next, you will need high quality succulent molds.
What I’ve found is that for this mold you are going to want a silicone that isn’t rigid. After reading multiple reviews I found a set of molds that others really enjoyed.
Materials Needed
- Silicone Succulent Molds
- Epoxy Resin
- Colorant (Mica Powder)
- Disposable Measuring Cup
- Heat Gun
- Container Molds (for creating pots)
- Rose Gold Foil Flakes (optional)
- Clay Polymer Flowers (optional)
- Decorative Fillers (e.g., vase filler gems, sand, dirt, gravel)
- Reindeer Moss
Picking the Perfect Colorant
Mica powder is ideal for adding vibrant hues to your resin succulents. Feel free to experiment with different colors to achieve your desired aesthetic. For a realistic touch, consider shades of green and blue.
Step-by-Step Guide
- Prepare Your Workspace: Set up your crafting area with all necessary materials within reach.
- Mix the Resin: In a disposable measuring cup, blend clear resin according to package instructions. Begin with approximately 80ml of resin.
- Add Colorant: Divide the resin into separate containers (e.g., paper dixie cups) and introduce a sprinkle of mica powder to each. Mix thoroughly until the desired color is achieved.
- Pour into Molds: Carefully pour the colored resin into the succulent molds. Feel free to experiment with color combinations or opt for solid shades.
- Eliminate Bubbles: Use a heat gun to remove any surface bubbles from the resin. This step ensures a smooth finish.
- Allow to Cure: Let the resin-filled molds cure for up to 24 hours. Keep in mind that Alumilite resin may cure faster than other varieties.
- Demold: Once fully cured, gently demold your exquisite resin succulent plants.
- Create the Pot: Select container molds large enough to accommodate your succulents. Mix rose gold foil flakes into clear resin and pour into the molds. Optionally, add clay polymer flowers for extra charm.
- Fill the Pot: After the resin pot has cured, demold it and fill it with decorative fillers of your choice, such as vase filler gems or reindeer moss.
- Decorate: Display your stunning resin succulent plants in your living space, dorm, or on tables to infuse a delightful Spring vibe into your surroundings.
Let me know how your own beautiful resin succulent plants turn out!
Feel free to comment or share pictures if you try this craft at home! I look forward to sharing a new craft with you next week!
Send emails to [email protected]

